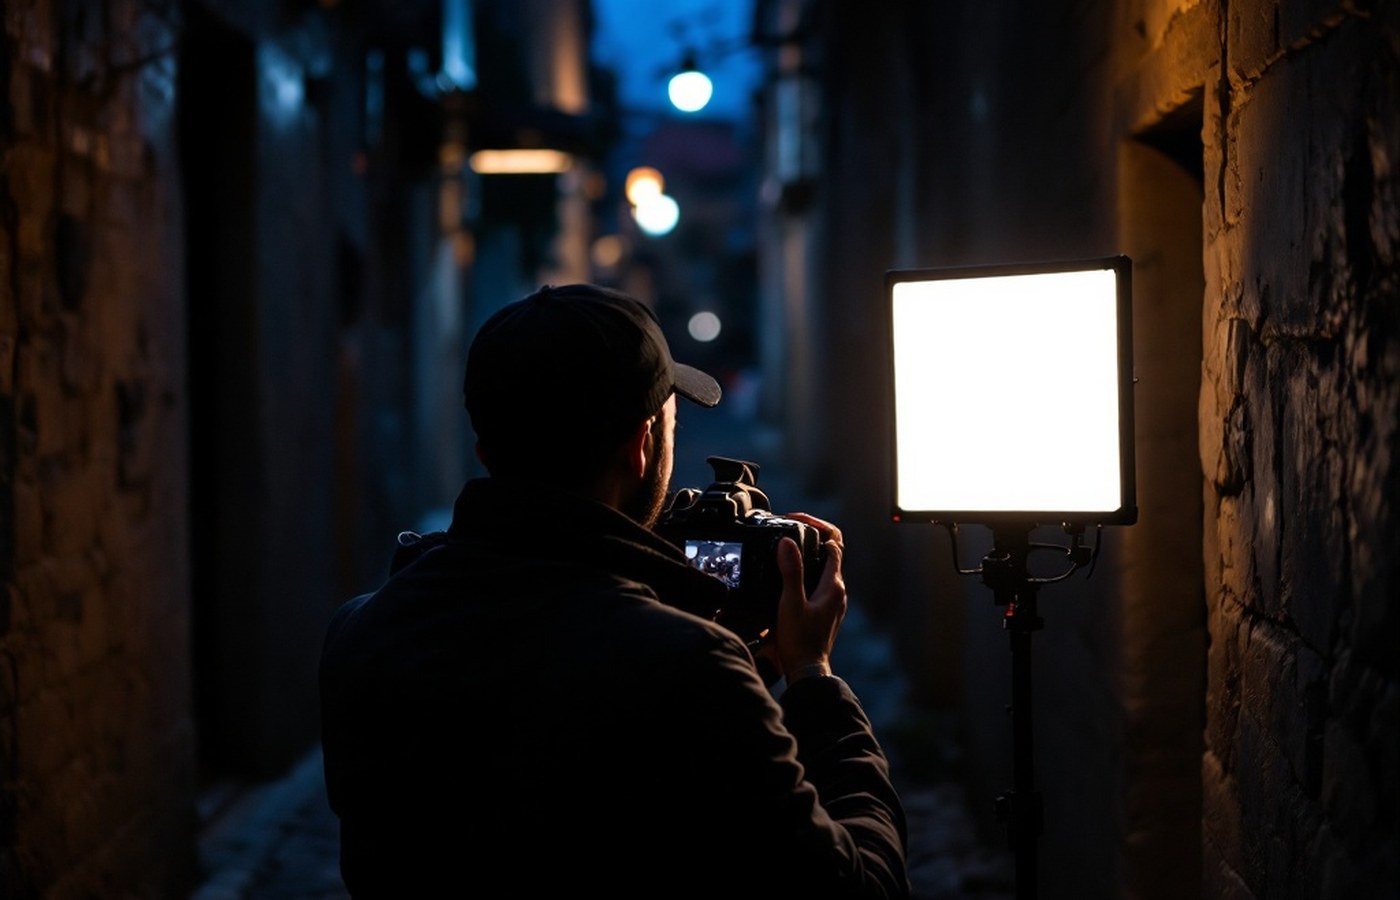
Poor lighting is a challenge most photographers have to deal with at some point in their careers. I have been there, and it is an awful experience for professionals and amateurs alike.
The image is either noisy or blurry — and the challenge humbles even the best cameras in the industry.
The good news: there are several things you can do to lift the quality of pictures taken in poor light — even without a powerful DSLR in your hands.
Make Use of a Fast Lens
A fast lens is one with a wide aperture. The quality of the image is determined by how much light can pass through that aperture — and here, the wider the better. The trade-off is a narrow depth of field: get careless, and you end up with pictures that are simply out of focus. This tip won't help much with a point-and-shoot, whose lens is fixed, but for a DSLR, faster lenses are easy to come by at minimal cost.
Reduce the Speed of the Shutter
The shutter opens and closes to let in light — and the faster it moves, the less light it admits. Since you are already working in an environment starved of light, you need every bit of it, which is why stepping the shutter speed down works. With moving subjects this is really not an option, as it introduces serious blur; with a landscape in front of you, it is just perfect.
Keep the Camera Steady
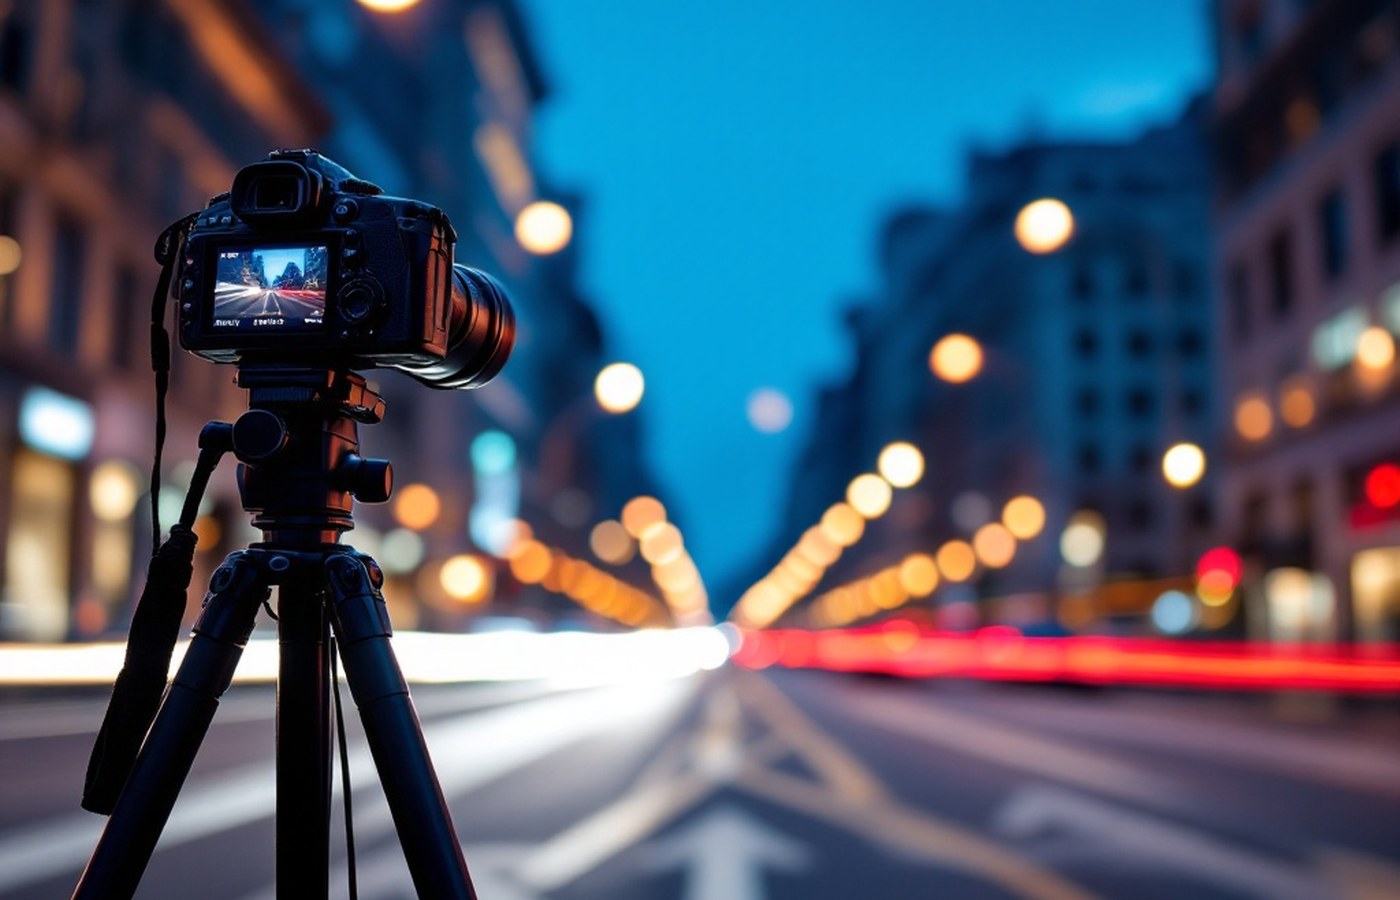
The perfect way to keep your camera steady is a tripod. It cannot stop a moving subject from blurring, but it can stop the entire frame from smearing — and a slower shutter speed only becomes truly usable once the camera sits on three legs. There are many types on the market; if you can get one with a remote release, perfect, because even your hands resting on a mounted camera introduce a little blur. Just be certain your chosen tripod doesn't limit your perspective.
Use a Wide Aperture Setting
Rival camera manufacturers have found the need to produce cameras with wide apertures — not just high megapixel counts. The idea of a wide aperture is simple: let in as much light as physically possible. In a poorly lit environment, that becomes invaluable.
Bring Your Own Light
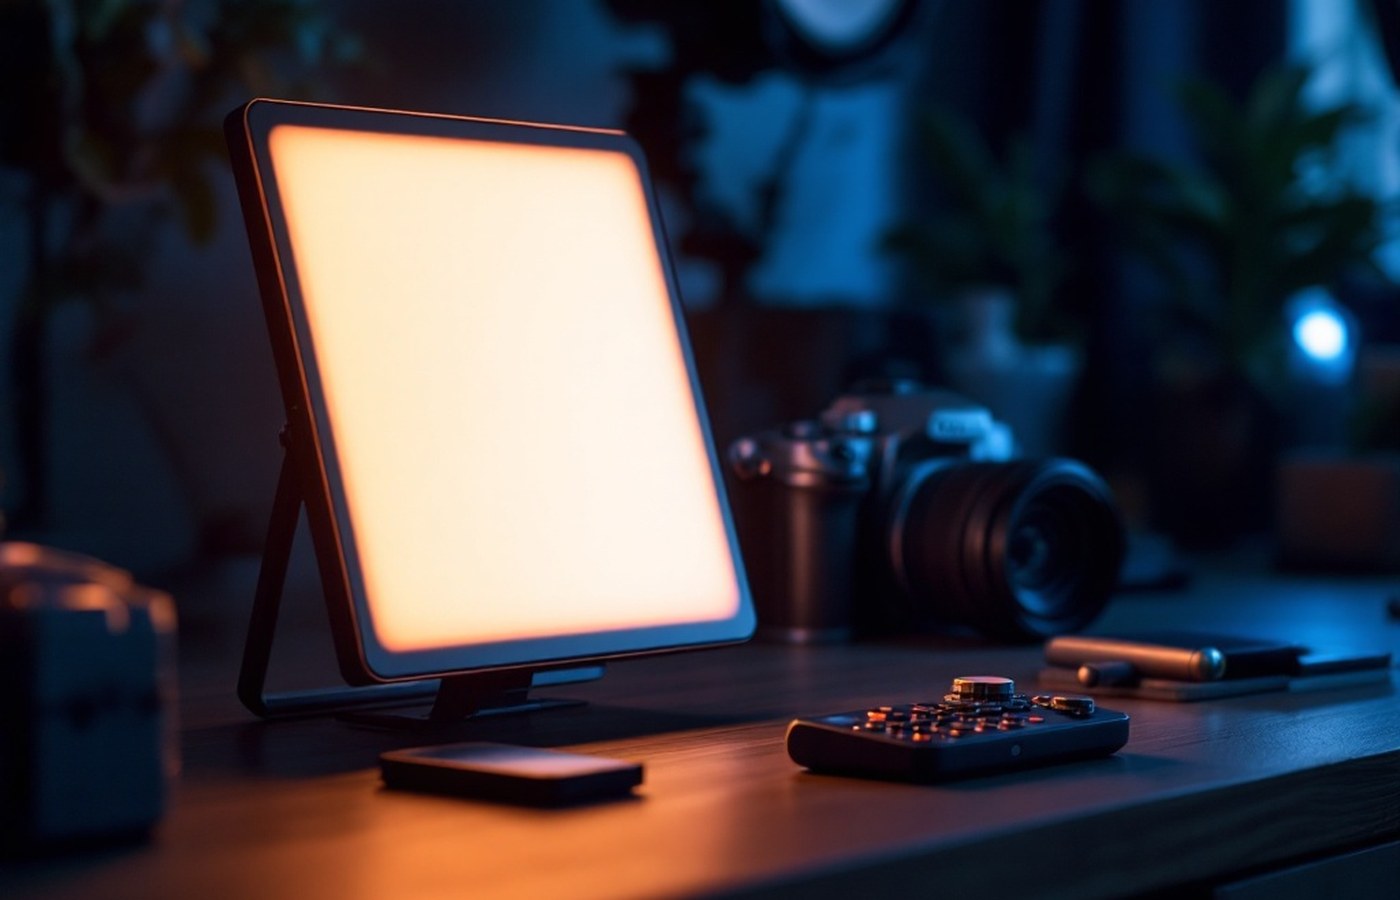
Portable LED lights are easy to come by these days, and most of them are surprisingly powerful — powerful enough to light up a large hall and hand your camera the advantage it needs. One LED I found genuinely rewarding is the LYKOS Bicolor: compact enough to slip into your bag, with smart features and controls that are easy to use in the dark.
Don't Be Scared of Using Your Flash
Photographers tend to avoid their flash because it creates a harsh lighting effect that leaves images washed out or blown. But when the light is poor, your flash can absolutely come to the rescue — all you need to do is diffuse it, with nothing fancier than paper or scotch tape. The light turns softer, and the image turns better.
I am optimistic these tips will serve you well. If you want to dig further, visit Lifehacker's low-light guide — there are other tricks there you may find useful.